A tutorial for the patchwork cards I sent to my DQS partner
I made two sets of these, and the pictures are a mix, I hope the changing colors aren’t confusing.
1) Pick a foundation: I’m using a 5×7 piece of paper.
Usually for paper piecing, you’re planning to tear this off, so I look for really lightweight paper (I put the phonebooks that show up on my doorstep to use). However, I’m leaving the foundation on for these cards, for a bit more stability, so tearability is less important even detrimental. Instead, think about acid-free materials. You can use whatever you like, but if you’re planning to save your card (or have their recipients save them) remember that paper like newspaper has lots of acid in it that makes it degrade, and that will eventually effect your fabric too. All of the scrapbooking/papercrafting supplies at the craft store should be acid free.

About size – you can use whatever size you find pleasing. I’m going to cut my square into quarters, ending up with 2.5 x 3.5 inch pieces. That’s the size of an ACEO, and just a pleasing proportion.
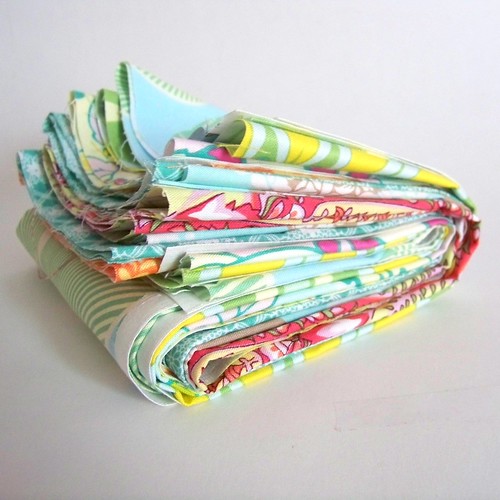
2) Decide on your pattern and fabric. You can use any paper piecing pattern you like, but I really like the look of a sort of improvised string-block. So I’m just gathering strips of different lengths and widths in coordinating colors/fabrics. Film in the Fridge has a nice tutorial for string blocks that you can use.

3) Foundation piecing.


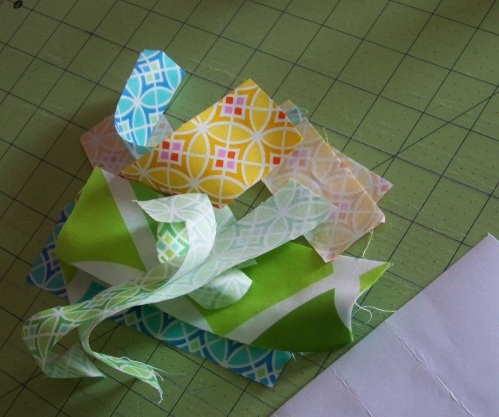
I use a fabric glue stick to secure my first piece of fabric (right side up) at a random angle across my paper foundation. Line another strip up along one edge, stitch, flip, finger press, repeat.

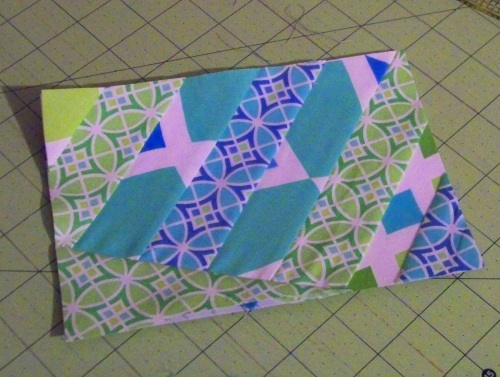
For this particular card set, I added a strip on another angle across the top.

One important change from regular paper piecing: don’t reduce your stitch length. A smaller stitch perforates your foundation paper, the better to tear it off, but I’m not planning to do that.
4) When you’ve covered your whole foundation paper, use your rotary cutter to carefully trim away the piecing that hang over the edges.


5) Cut your block – my 5×7 inch block is getting cut into four quarters, so I cut up the middle vertically, then horizontally. But again, do what you like – you could cut bigger or smaller pieces. And while I like the efficiency and randomness of the piecing you get by doing it this way, you could skip this step altogether and just size your foundation the finished piece you want.

6) Place block on cards.
I use white 5×7 cardstock cards. I got a pack of 50 or 100 of these (with envelopes) ages ago at a craft store, but you could also fold your own from cardstock of your choice. I like to position the fabric so that it’s centered horizontally, but is higher than centered vertically. Play around to see what looks right to you.
If you want to match mine, the top right corner is 1 1/4 inch down from the top edge, and 1 1/4 (the same distance) in from the right edge.

7) Stitch. To secure the fabric to the card base, we’re going to top stitch around the edge. Pay attention to your fabric – you’ve probably got bias edges all over the place, even with the foundation still on for stability.

Both top and bobbin thread will be visible, so think about how they’ll look. I’m using a soft gray, but you could either match it, or pick something contrasting to add interest.
No pins, they leave holes, you can use another swipe of glue-stick to hold it temporarily in place.
I stitch about 1/8 of an inch from the edge, all the way around, use a fairly long stitch (My machine goes from 0 to 4, I’m at about 3 to 3.5 for this) . Secure your ends with a small backstitch or two.
8) Done! Well, I’m done, you can keep going if you like. I’m making blank cards. You can embellish further if you like — add a message on the front or inside, or decorate with rubber stamps, paper, pens/markers whatever makes you happy. If you’re planning elaborate embellishments, you may want to do them before you stitch the fabric on.

Tie a set with a piece of pretty ribbon, rick-rack or a strip of fabric for a gift, or stash them at your desk for a pretty note.
** Tutorial is for your personal use, and creative inspriation only. Please do not use my design to produce cards for sale**
Read Full Post »


